
Appearance
Your First Course, Start to Finish
Never taken a course on LecturePanda before? This walks the whole thing — registering, working through the material, and getting your certificate — in the order you'll actually meet it.
What you'll need
Just an email address you can get to. You don't need an account or a password to take a course — registering gives you a personal link by email, and that link is how you come back to it.
If you'd rather have somewhere permanent to keep your courses and certificates, you can create a free account at any time, before or after. It's optional.
1. Register for the course
Find the course
You'll arrive in one of three ways, and they all end at the same registration form:
A link straight to the registration form. Sent by email, or published on your provider's website.
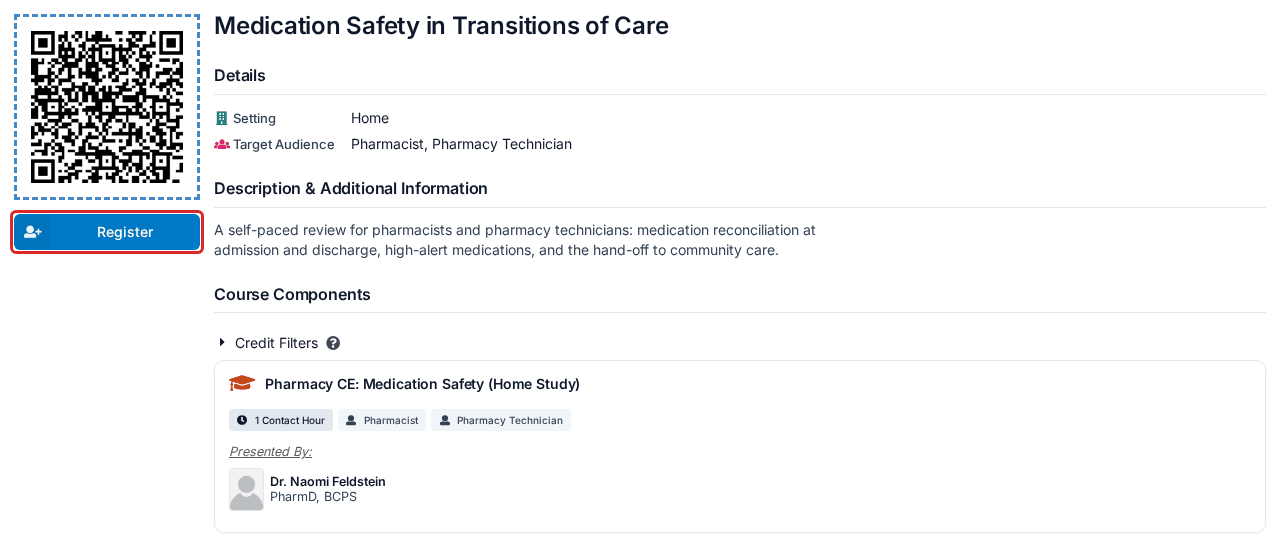
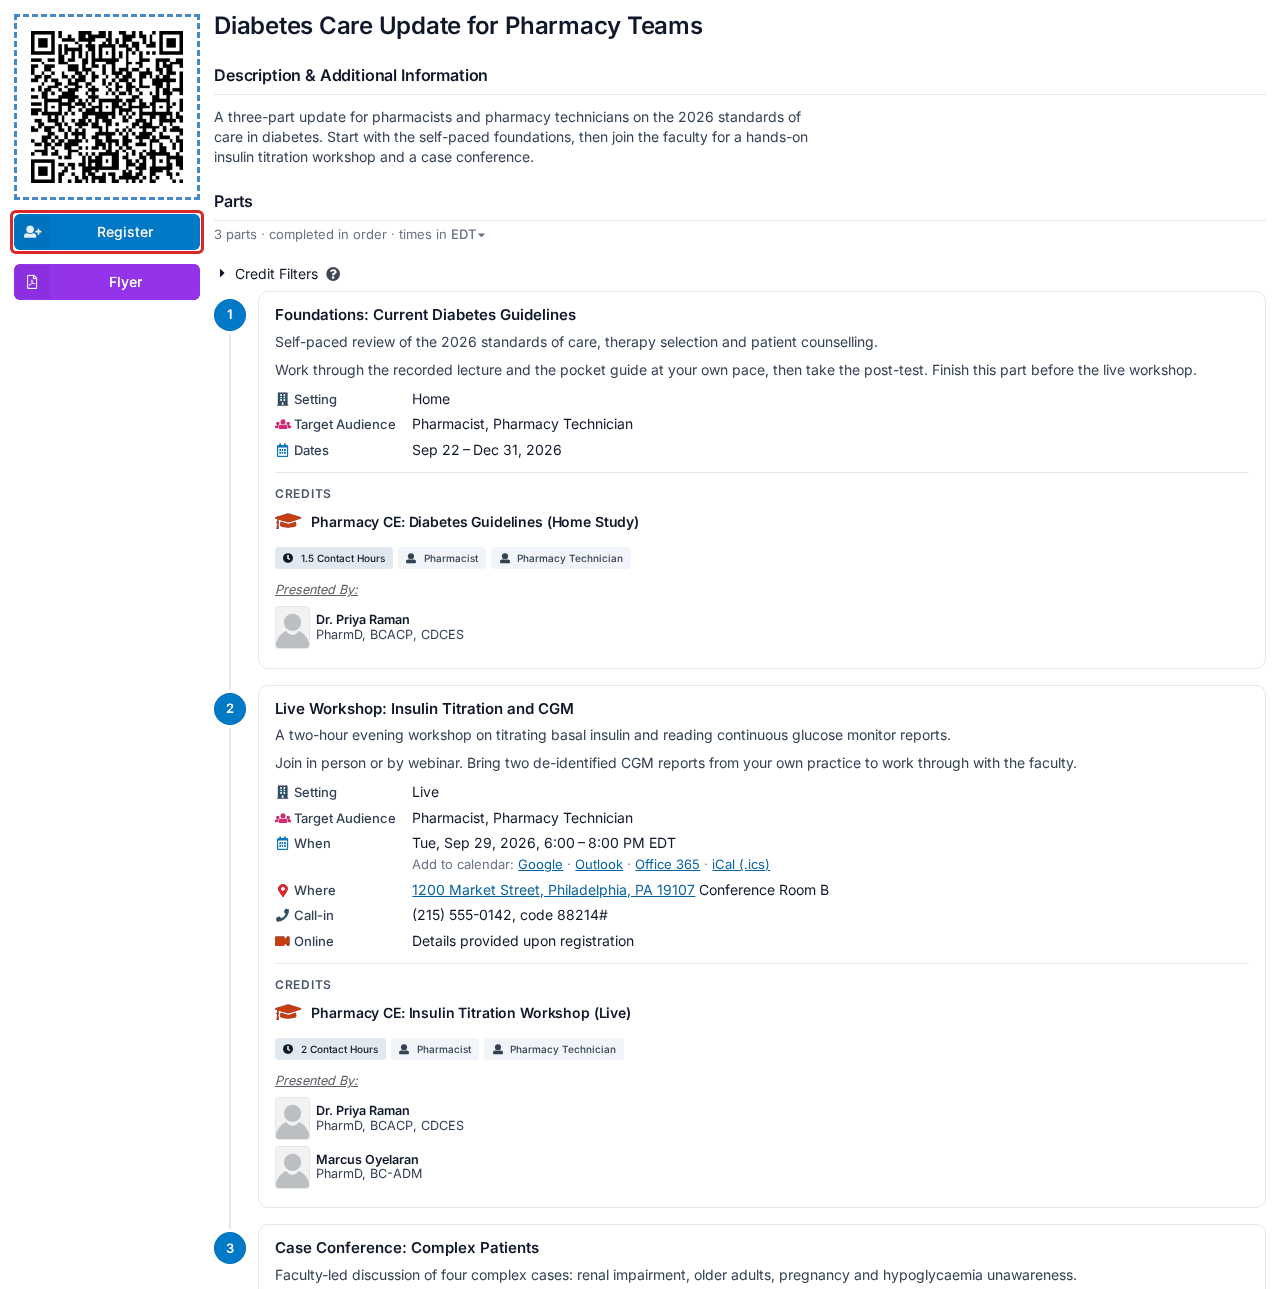
The course's own page. Many providers share a page describing the course — the speakers, the credits on offer, the fees, what's required — with a Register button on the left and a QR code you can scan with your phone's camera. Some print that QR code on a flyer or show it on screen at an event; it takes your phone straight to the registration form. If the provider has uploaded one, a Flyer button sits under Register.
If the course is split into several parts, the page has a Parts section that lists each one, with its dates, place and credits.
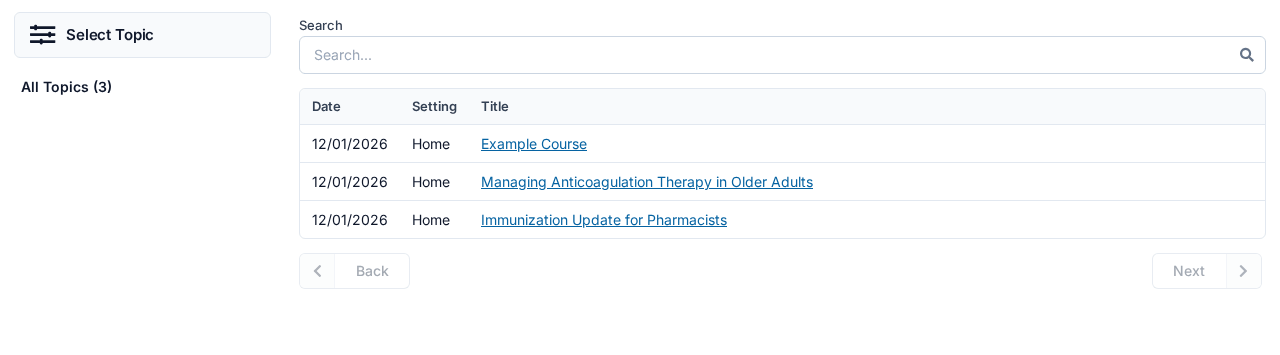
A course catalog. Providers with many courses often publish them as a searchable list. Click a title and you land on that course's page, then Register from there.
Choose what describes you
The first thing the page asks is What best describes you?
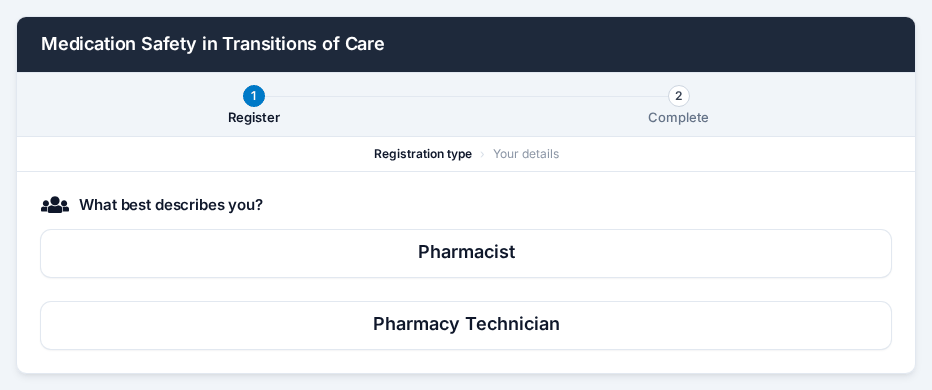
Pick the option that matches you. This is not just a label: it decides what you pay and which credits you're eligible to claim at the end, so choose the one that genuinely applies — your profession, your membership status, whether you're a student. If none of them look right, ask your provider before guessing.
Fill in the form
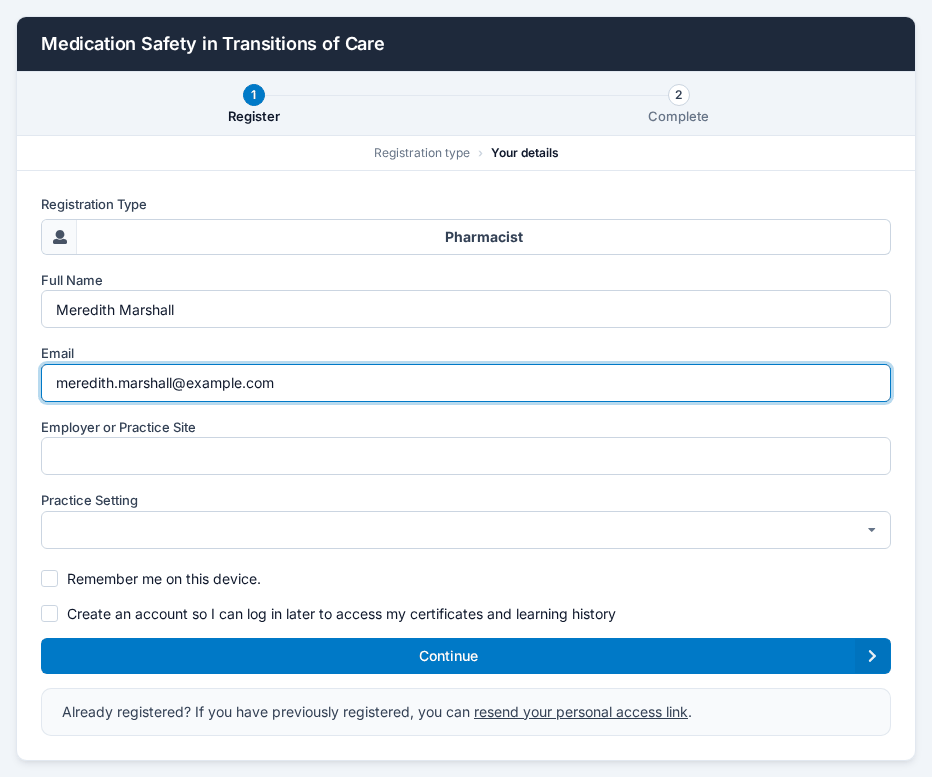
Your name and email, plus anything your provider needs in order to report or verify your credit — often a license or membership number, sometimes a professional ID and date of birth. What's asked for depends entirely on the kind of course; plenty ask for nothing beyond your name and email.
There's also a checkbox to create an account while you're here. It's optional, but it's the least effort you'll ever spend on it: tick it and every course you take is collected in one place, with your certificates and receipts attached. If you tick it, you get a second email with a Set Up My Password button. Use it within 24 hours to choose your password. See Your Account & Learning History.
Get your name and ID right the first time
Your name is printed on your certificate exactly as you type it here, and any ID you enter is what your credit is reported against.
Where an ID can be verified, it's checked as you register and details that don't match are rejected on the spot — so most typos never make it through. What no check can catch is valid details that simply aren't yours: if you handle registrations for colleagues or share a computer, make sure the information on screen is your own before you continue.
You can correct these later, but it's much less work now.
The strip across the top of the card shows where you are: Register, then Payment if the course has a fee, then Complete. When the form is filled in, click Continue. On a paid course the button reads Continue to Payment with the fee beside it, and the next screen takes your card details — a receipt or discount code, if you have one, goes in the box on that screen.
Some courses can only be joined with a registration code. If your provider emailed you one, the email names the course and has a Click Here To Register button; type the code in where the form asks for it. Each code works once, so don't share it.
You're registered
You'll get a confirmation email. It has one button, and that button is your personal link into the course. The wording on it is chosen by your provider — usually Go To Your Course, sometimes something like Complete Credit Requirements. Whatever it says, it opens your course page. Keep that email — it's how you return if you don't finish in one sitting.
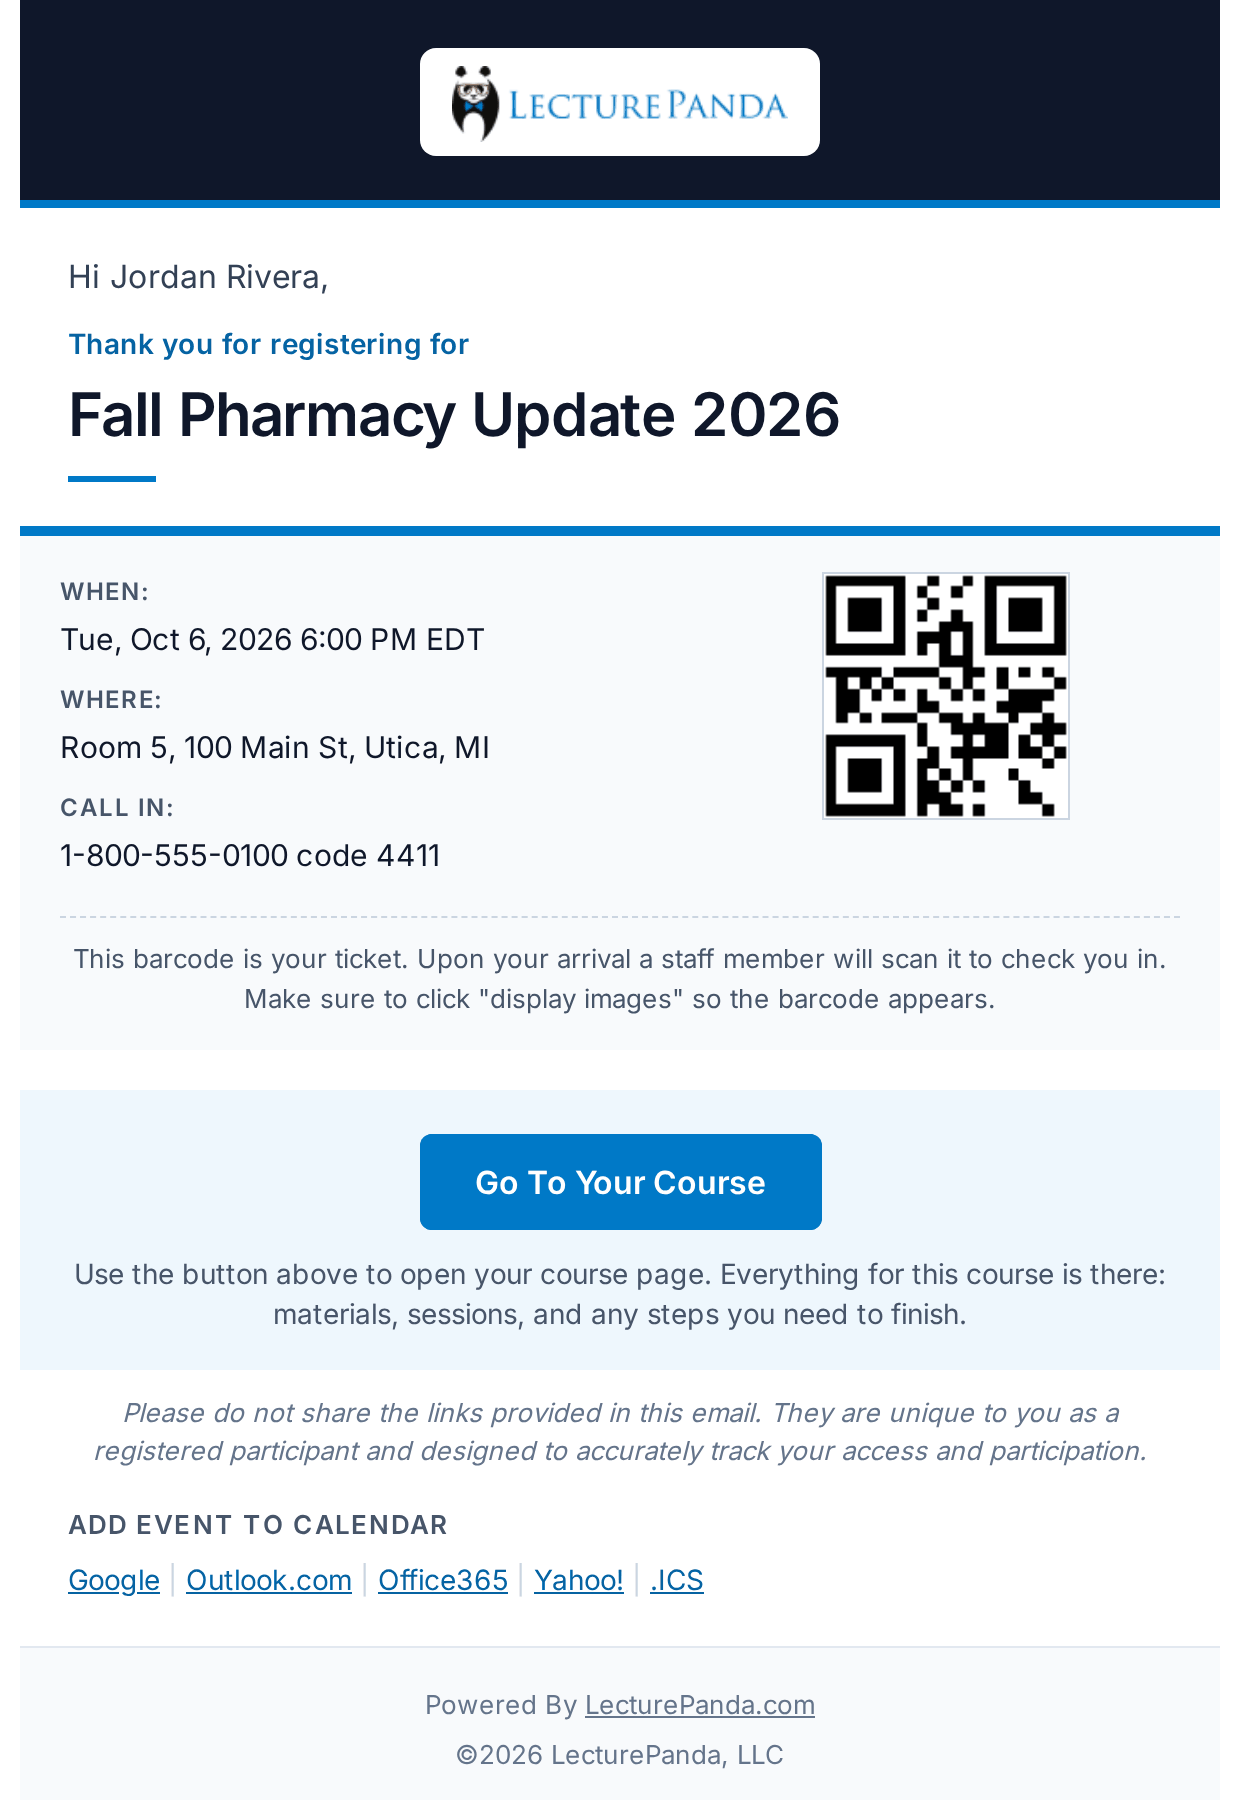
What else may be in it:
- What's included — on a course with several parts, a numbered list of the parts, each with its date, place and call-in number, or "Available on demand".
- A barcode, if the event takes attendance. It's your ticket; staff scan it when you arrive.
- Links to add the event to your calendar.
- An "Account Created!" note, if you ticked the account box.
The webinar link is not in this email
For a live online session, the Join The Webinar button arrives in a separate "starting soon" email about an hour before the session. It's also on your course page. You'll get a short notice the day before as well.
The other emails you may get later all carry the same course button:
| When | |
|---|---|
| A day-before notice | The day before a live session |
| "Starting soon" | About an hour before a live session, with Join The Webinar if you have a join link |
| A reminder | Weekly, while you still have something to finish. Disable Reminder at the bottom turns them off. |
| "… is now open" | When a part of your course opens on a later date |
2. Work through the course
Click the button in your email. Most courses run through four steps, shown across the top of the page, with a bar at the bottom to move between them:

Learning Materials → Claim Credits → Complete Evaluations → Submit
Work left to right:
- Learning Materials — watch the videos and work through any learning modules (interactive lessons). Play them on the course page and let each one run to the end; the progress bar under the video only credits a section once it has played all the way through. See When a Video Won't Complete if a video won't tick over.
- Claim Credits — tick the credits you're claiming for this course.
- Complete Evaluations — finish every quiz and evaluation on your list. Nothing can be left open.
- Submit — send in your completion.
Steps you haven't reached yet are greyed out and can't be clicked, and the bottom bar says what's still needed. That's the mechanism behind almost every "it won't let me continue" — the step isn't broken, something earlier is unfinished. Working Through a Course sets out exactly what unlocks each one.
Your progress saves as you go, so you can stop at any point and pick up later from the same link.
If your course opens on a list of Parts
Some courses are split into parts — a run of weekly sessions, for example. Yours then opens on a Parts list instead of the four steps. Press Start This Part on a part to begin it; the same four steps are inside each one, and you submit each part separately. Use All Parts at the top to get back to the list. Courses with several parts explains the rest.
Joining a live online session
Open your course page and look for the Live Event block — at the top of the Learning Materials step, or on the part's card once you have pressed Start This Part. The Join The Webinar button is there. The same button is in the "starting soon" email that arrives about an hour before.
Check your details before you finish
The Edit Profile link at the top of the course page opens your registration details. Worth a glance before you submit, because your name goes onto the certificate as it appears there.
3. Get your certificate
As soon as you submit, your certificate appears as a Download Certificate button on the final step — one for each credit you earned. On a course with several parts, each part has its own final step and its own certificates.
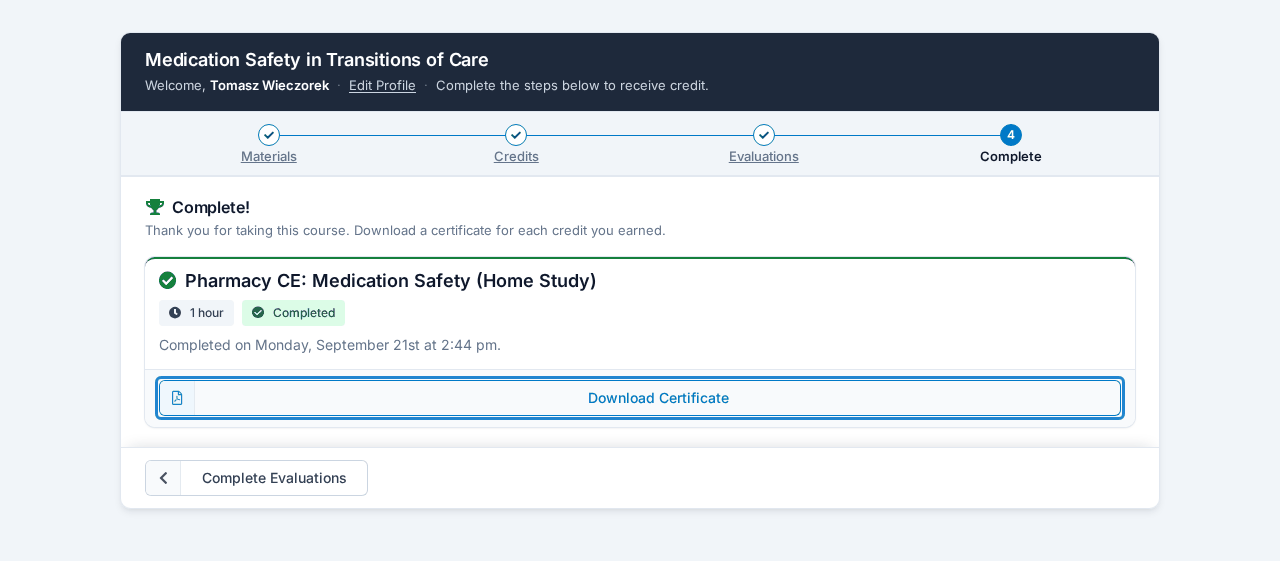
Download it there and then. Certificates are never emailed, so there's nothing arriving in your inbox later. You can always come back for another copy — Getting Your Certificate covers how — but saving it now is much quicker.
If your course reports your credit to an outside accrediting body, that happens when you press Submit. How soon it shows up on their side is up to them; see When Your Credit Gets Reported.
4. Answering live questions during a presentation
Some live sessions let the speaker put questions to the room and collect answers on your phone. If yours does, there are two ways in: the Interactive Questions button on your course page — it sits in the Live Event block, beside Join The Webinar — or a QR code on the presenter's screen. There is no separate email link for it.
What you'll see, in order:
- "Waiting for Speaker to Connect" — you're early. The page waits by itself; leave it open.
- A list of rooms. Once the speaker opens their session it appears here. Tap the one matching the session you're in — at a multi-track event there may be several.
- "Waiting for first question..." — you're in the right place, and the speaker hasn't asked anything yet.
- The question, with the answers as buttons. Tap yours. Questions appear on their own as the speaker releases them, so you never need to refresh or press anything to get the next one.
- The results, once answers are in — how the whole room responded.
At the bottom of the screen there's an Ask A Question button. It opens a box to text a question to the speaker, which joins a queue on their screen for them to pick up.
It doesn't affect your credit
Answering live questions is separate from the four steps above. It won't complete your course, and skipping it won't stop you claiming your credit.
If you get stuck
Help for Learners lists the problems people hit most often, each with the fix. If none of it matches, your course provider is the right person to ask — they can see your registration and almost every fix is on their side. See Getting Help.